Welcome to the Studio’s Annual Christmas Carol Hop. Every year the Studio designers gather together to “sing Christmas carols” to all of our members, customers, fans & friends. Put on your dancing shoes & singing voices and come caroling with us!
It’s a way for us all to say Merry Christmas and a big thank you for being so supportive of our little store. Each participating designer has chosen a special Christmas carol just for you and designed an adorable freebie around it.


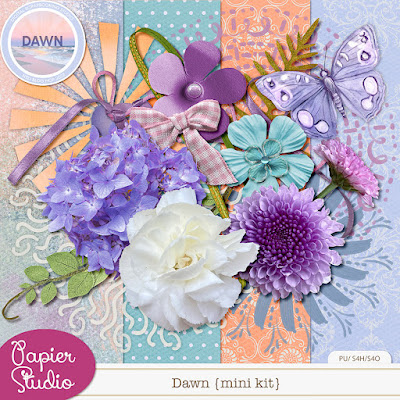
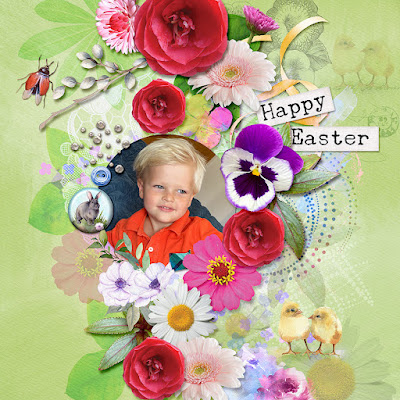
Sorry, the Download is over! Thank you for visiting my blog!
Silke